
Last updated November 2, 2026
 Sweep & inspection
 Caps & crowns
 Flue relining
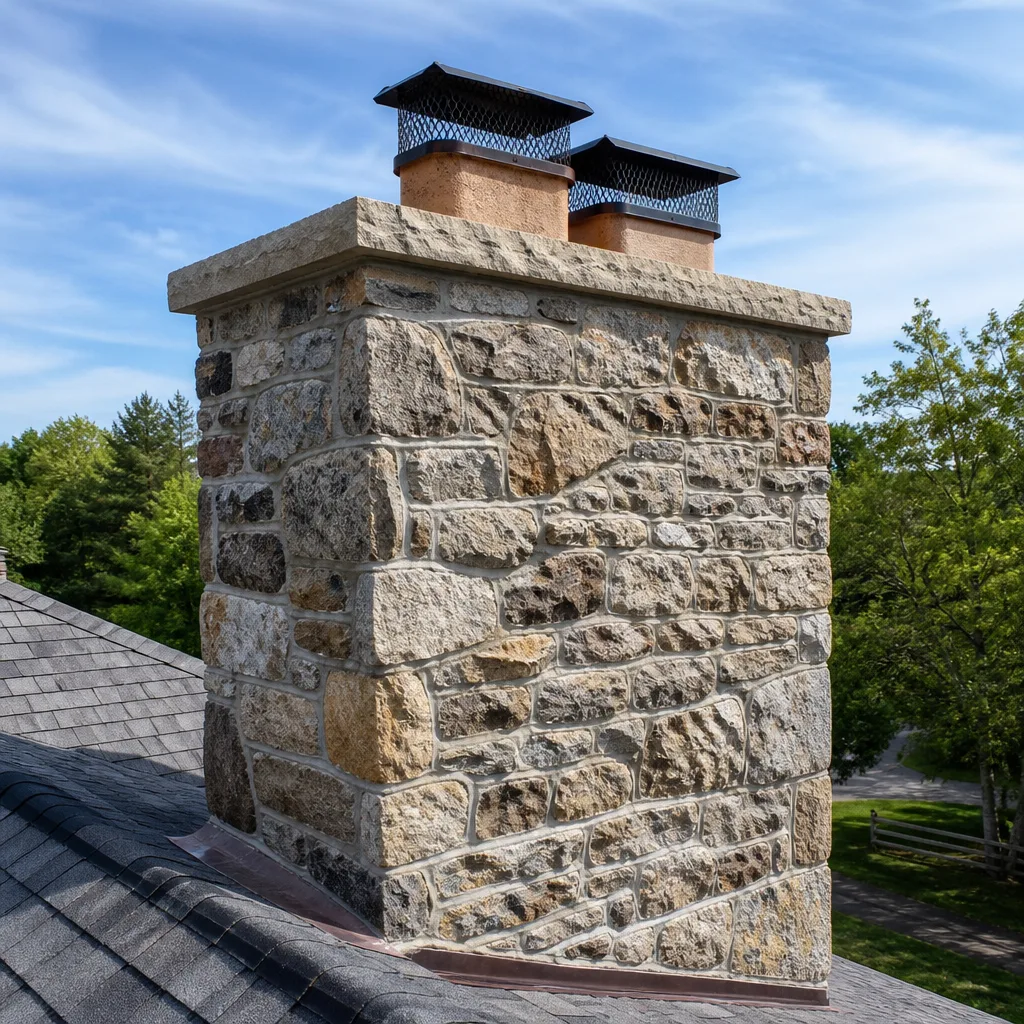 Masonry repair
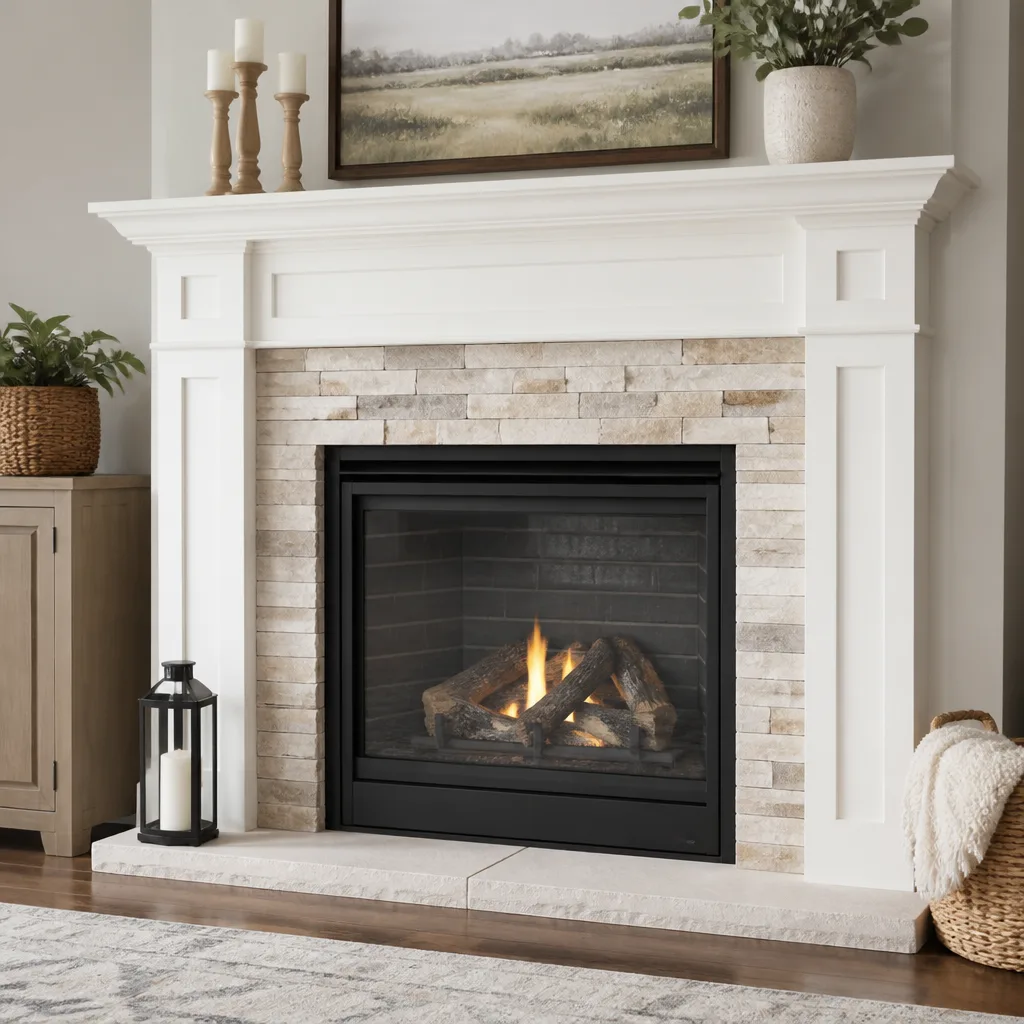 Gas fireplace service
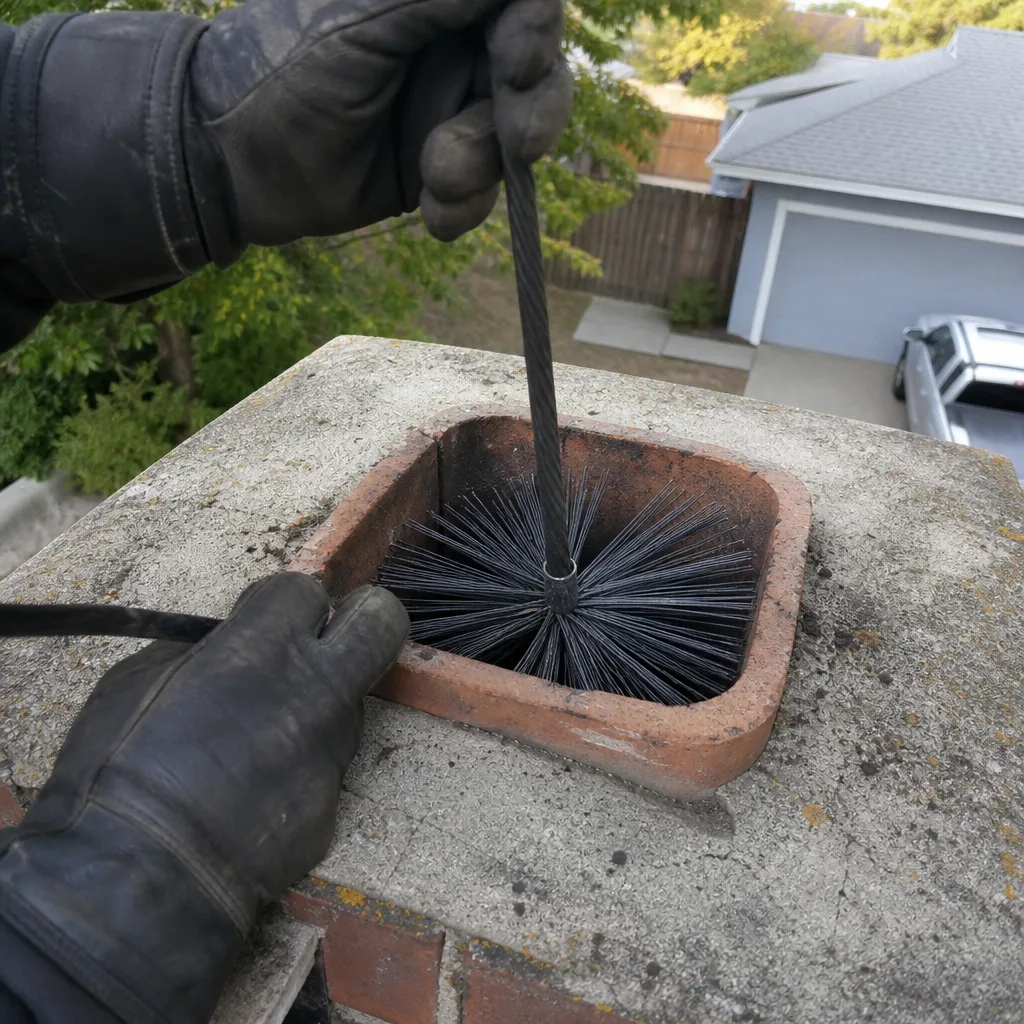
Level 1 sweep and inspection to the NFPA 211 annual standard - flue, crown, cap, and flashing checked and photographed
Chimney sweep logs do not sweep chimneys. They loosen some creosote - which then falls where a brush and vacuum still have to collect it.
Chimney Sweep Maintenance Checklist for Arden-Arcade Homeowners
Homeowners who catch liner deterioration early spend around $300 – $600 on a repair. Those who find it after a chimney fire spend $3,000 – $8,000 on a full reline, and that gap almost always comes down to skipping one item on a proper checklist. In Arden-Arcade, where single-story ranch homes built between the 1950s and 1970s dominate the landscape, the masonry and flue systems are now hitting the age where small problems compound quickly. This guide breaks chimney maintenance into a tiered sequence: what you can inspect monthly from the ground, what requires a flashlight and five minutes at the firebox, and what should only be handled by our Chimney Sweep services with professional equipment. We’ll cover the specific failure points common to Arden-Arcade’s older housing stock, how to document what you find, and when a finding means “watch it” versus “call someone this week.”
Styles & brands we work with
- Sweep & inspection
- Caps & crowns
- Flue relining
- Masonry repair
- Gas fireplace service
Quick Answer
A proper chimney maintenance checklist separates monthly visual inspections (looking for spalling brick, efflorescence, or cap damage from the ground) from annual professional services (sweeping, camera inspection, and crown or flashing assessment). In Arden-Arcade, homeowners should schedule a professional sweep before the first burn of the season, typically September or October, and perform simple visual checks monthly during burning season. The highest-risk items on any checklist are the flue liner condition and the crown-to-cap seal, because failures there allow heat and gases into combustible framing rather than venting them outside.
Table of Contents
- The Tiered Approach: Why Sequence Matters
- Monthly Visual Inspection: What to Look For
- Firebox and Damper Check: Before the First Burn
- Cap, Crown, and Flashing: Three Separate Failure Points
- Masonry Indicators Common in Arden-Arcade Homes
- What a Professional Sweep Actually Covers
- Documentation: Building a Year-Over-Year Baseline
- Common Mistakes to Avoid
- When to Call a Professional
- Frequently Asked Questions
- The Bottom Line
The Tiered Approach: Why Sequence Matters
Most published chimney checklists fail because they mix tasks that belong in different categories. A homeowner cannot inspect a flue liner, but they can absolutely catch a damaged chimney cap from the ground. A homeowner should not climb onto a roof to inspect flashing, but they can photograph the masonry from the driveway and compare it to last year’s photo. When tasks are sequenced incorrectly, two bad outcomes follow: homeowners attempt things that are unsafe or technically beyond their ability, and they skip entirely the things that would actually catch early-stage damage.
The sequence we recommend for Arden-Arcade homeowners has three tiers, and it mirrors how we train our own technicians to approach a home.
- Tier 1: Monthly ground-level visual inspection. This takes five minutes and requires nothing more than walking the perimeter of the house and looking up. You’re checking for obvious exterior changes: cracked or missing brick, white staining that wasn’t there last month, a chimney cap that’s tilted or gone, or flashing that has pulled away from the roofline.
- Tier 2: Seasonal firebox and damper check. This is done before the first fire of the season and ideally once more mid-winter. It requires a flashlight, a firebox you’re willing to look at closely, and about fifteen minutes. You’re inspecting the damper operation, looking for creosote buildup you can see, and checking the firebrick for cracking or spalling.
- Tier 3: Annual professional sweep and inspection. A certified sweep uses brushes, rotary tools, and a camera to clear and inspect the full flue. This catches what neither tier can: liner cracks, hidden creosote, and early-stage water damage inside the flue. In our experience, this is where Arden-Arcade homeowners get the highest return on a single service call.
The reason sequence matters is that most chimney failures are gradual. A crown develops a hairline crack. Water seeps in. Freeze-thaw cycles widen it. The crack becomes a channel. A year later, the flue liner has rusted through, or the masonry face has begun to spall. Each stage is detectable if you know what to look for, but only if you look in the right order. Jumping straight to the roof with a caulk gun skips the documentation and the professional assessment that would identify the actual problem. For a deeper breakdown of what a Chimney Sweep in Arden-Arcade evaluates during a standard visit, see our service page.
Monthly Visual Inspection: What to Look For
The monthly check is not about finding hidden damage. It’s about noticing change. Chimney systems fail slowly, and the earliest warning signs are visual. The trick is knowing which visual changes matter and which are cosmetic. Here is the exact checklist we give homeowners in Arden-Arcade, and it works without setting foot on a ladder.
- Brick face changes: Look for any brick that appears to be flaking, peeling, or shedding small chips onto the roof or ground below. This is spalling, and it means water has entered the brick and is breaking it apart from the inside during freeze-thaw cycles. Even one spalling brick is a signal that water is getting somewhere it shouldn’t.
- White powdery staining: Efflorescence looks like chalk dust or white film on the mortar joints or brick face. It’s salt deposits left behind when water moves through masonry and evaporates. A small amount after heavy rain is common. An expanding patch is not. Photograph it monthly and compare.
- Mortar joint recession: Run your eye along the horizontal and vertical mortar lines. Healthy mortar sits flush with or slightly proud of the brick face. When joints look scooped out, recessed, or have gaps where mortar used to be, water has found a path. This is repointing territory, and it’s far cheaper to repoint early than to rebuild a chimney face later.
- Cap position and condition: The chimney cap is the metal or masonry lid at the very top. It should sit flat and fully cover the flue opening. If it’s tilted, rusted through, or missing entirely, rain is entering the flue directly. This is one of the fastest ways to destroy a liner.
- Flashing gaps: Flashing is the metal strip where the chimney passes through the roofline. It should sit tight against both the brick and the shingles. If you can see daylight between flashing and brick from the ground, or if the flashing has lifted, water is running down the exterior of the chimney inside the roof structure.
- Debris accumulation at the base: After a storm, check the ground or roof around the chimney base for mortar crumbs, brick chips, or pieces of cap. Debris on the ground means debris falling from above, and that means active deterioration.
One thing we tell every Arden-Arcade homeowner: this monthly check is not about finding every possible problem. It’s about training your eye to recognize what “normal” looks like for your chimney specifically. Once you know your chimney’s baseline, a change becomes obvious. That’s the entire point. If you see something that wasn’t there last month, document it and call a professional for an assessment rather than waiting to see if it gets worse.
Arden-Arcade’s climate makes this monthly rhythm particularly useful. We get long dry stretches followed by intense rain in winter, and the temperature swings between cold nights and warm days accelerate freeze-thaw damage in any brick that has already absorbed water. A chimney that looked fine in October may show new efflorescence by January. Monthly observation catches that.
Firebox and Damper Check: Before the First Burn
Before the first fire of the season, you should inspect the firebox and test the damper. This is a fifteen-minute job that requires a flashlight and no tools. It answers two questions: is my firebox structurally sound, and is my damper doing its job? Both answers matter more than most homeowners realize, because a cracked firebox can allow heat to reach combustible framing, and a failing damper controls the draft that carries smoke and gases out of the house.
Here is the step-by-step check we recommend.
- Open the damper fully. Locate the damper handle or chain above the firebox opening. It should move smoothly through its full range. A damper that sticks, requires force, or won’t stay in position needs servicing before you burn.
- Look up with a flashlight. With the damper open, shine a flashlight up into the flue. You should be able to see the flue walls. Look for black, shiny creosote accumulation. A thin dusting of gray or brown is normal. A thick, glossy, tar-like coating is not, and burning with that present is how chimney fires start. Creosote buildup of 1/8 inch or more warrants a sweep before any further burning.
- Inspect the firebrick. The angled or vertical panels lining the firebox should be intact. Look for cracks wider than a credit card, bricks that have shifted, or mortar joints that have opened up. Firebrick is designed to absorb and reflect heat. When it cracks, heat passes through to the metal firebox shell or masonry behind it, and that’s a condition that gets worse with every burn.
- Check the smoke shelf. The smoke shelf is the flat area above the firebox and behind the damper. Shine the flashlight and look for accumulated debris, bird nesting material, or heavy creosote. This area is poorly ventilated, which means buildup here is common and also that fires that start here are hard to extinguish.
- Close the damper and check the seal. A closed damper should seat firmly. If you can feel cold air dropping into the firebox when the damper is closed, the seal is poor, and you’re losing conditioned air through the chimney year-round. This is a repair most sweeps can complete in the same visit as a cleaning.
A properly functioning damper should open and close with moderate resistance, hold its position when released, and seal tightly when closed. It should not require lubrication, and it should not rattle when the wind blows. If it does any of those things, the issue is usually a warped plate, a broken spring mechanism, or accumulated creosote jamming the track. All of these are repairable, and none should be ignored before burning season.
In Arden-Arcade homes with original 1950s and 1960s fireplaces, we regularly see throat dampers that have been in place for sixty years and have never been replaced. They’re often warped from decades of heat cycling and are letting conditioned air escape even when closed. A top-sealing damper is a practical upgrade that costs less than most people expect and pays back in reduced energy loss, but that’s a topic for a professional assessment. For more on what a full Chimney Repair in Arden-Arcade evaluation covers, see our dedicated page.
Cap, Crown, and Flashing: Three Separate Failure Points
Cap, crown, and flashing are often bundled into a single “exterior check” on generic chimney checklists. That’s a mistake. Each of these components fails independently, in different ways, at different rates, and for different reasons. A homeowner who checks only one and believes they’ve checked all three is operating with false confidence. Here is the separation.
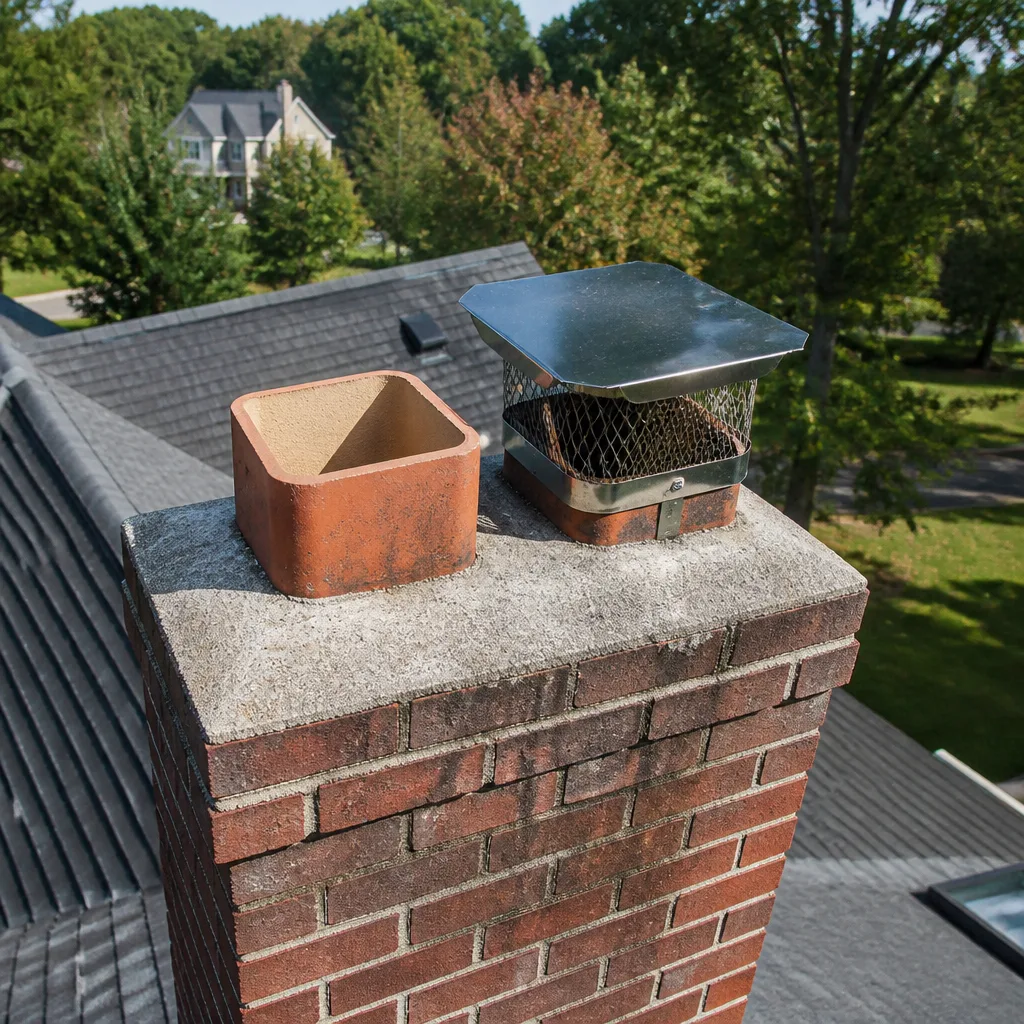
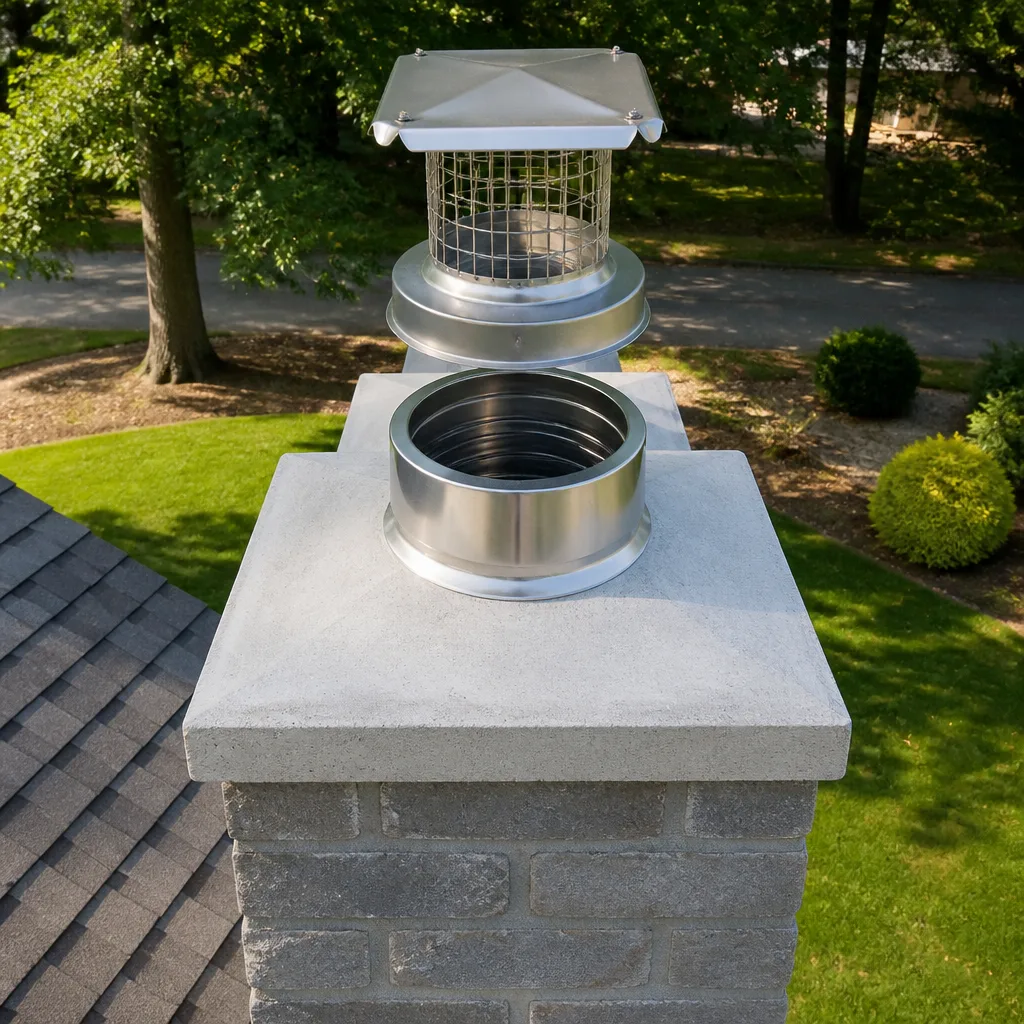
The cap is the metal or masonry cover over the flue opening at the very top of the chimney. Its job is to keep rain, leaves, animals, and debris from falling directly into the flue. Caps fail by rusting, by being dislodged by wind or branches, or by the mesh sides becoming clogged with creosote. A rusted cap is a direct water entry point. A dislodged cap means rain falls straight down the flue and pools at the base of the firebox. A clogged cap mesh means poor draft and smoke backing into the house.
The crown is the concrete or mortar slab that covers the top of the chimney structure, surrounding the flue opening. Its job is to shed water away from the flue and the masonry below. Crowns fail by cracking, usually from freeze-thaw cycles or from original pour defects. A hairline crack in a crown lets water seep into the brick below, and in Arden-Arcade’s climate, every freeze event widens that crack. Crowns are a separate repair from caps, and far too many homeowners have a cap installed while leaving a cracked crown untouched. The cap covers the flue opening; the crown covers the entire chimney top. They are not interchangeable, and they do not protect each other.
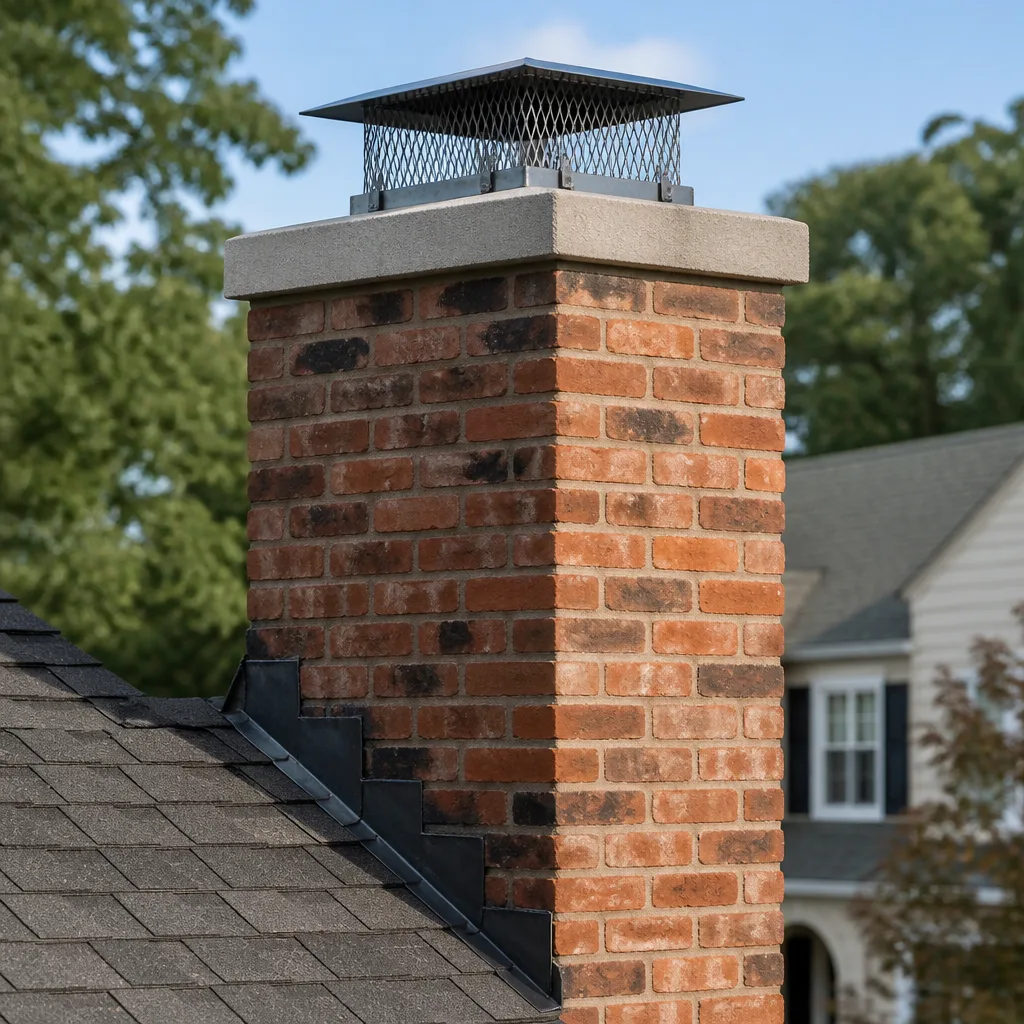
Flashing is the sheet metal transition where the chimney passes through the roofline. Its job is to keep water that runs down the roof from entering the gap between chimney and roof decking. Flashing fails by lifting, by corroding, or by sealant failing at the joints. It’s the component most likely to be damaged by roof work, gutter work, or simply by age. In Arden-Arcade’s older ranch homes, we often see flashing that was installed with the original roof and has never been touched since. By the time a leak shows up on the ceiling, the flashing has been failing for years and water has been running inside the roof assembly, not just down the chimney exterior.
Each of these three components should receive its own line item on any serious maintenance checklist. Check the cap from the ground. Assess the crown from the ground or roofline if it’s safely accessible, and if it’s not, leave it to a professional. Inspect the flashing from the ground where visible and from the attic if possible. And if any one of the three shows signs of failure, treat it as its own repair project, not as a catch-all “chimney exterior” issue. We use Gelco and Olympia Chimney components when we repair or replace caps and crowns because they’re built to handle exactly the kind of moisture and temperature cycling Arden-Arcade throws at them. Off-brand caps rust through in a season. Professional-grade materials last.
Masonry Indicators Common in Arden-Arcade Homes
Arden-Arcade’s housing stock is dominated by single-story ranch homes built between roughly 1950 and 1980. Those homes have specific masonry characteristics, and those characteristics produce specific failure patterns. If you own one of these homes, your chimney is likely a site-built masonry structure with a clay tile flue liner and a poured concrete or mortar crown. It has been exposed to fifty to seventy years of Sacramento Valley heat, winter rain, and the occasional freeze. Here are the masonry indicators we see most often in this area and what they tell us.
Spalling brick is the one we see most frequently in Arden-Arcade. Spalling occurs when water inside the brick expands and contracts with temperature changes, breaking the brick’s surface off in flakes or chips. The telltale sign is a small pile of brick fragments at the base of the chimney or on the roof below the chimney. Spalling is not a surface issue, and painting or sealing over it does not fix it. A spalled brick has already lost its structural integrity, and the only real repair is brick replacement. The cause is almost always water entry through a cracked crown, failed flashing, or porous mortar. Fix the water entry, replace the damaged brick, and the problem stops. Ignore it, and the spalling spreads to adjacent bricks and eventually compromises the entire chimney face.
Efflorescence is a white, chalky deposit on brick or mortar. It’s salt left behind when water moves through masonry and evaporates. In Arden-Arcade, where we get heavy winter rain followed by dry, warm spells, efflorescence is common. A small amount that appears after a storm and doesn’t grow is not urgent. A patch that expands month over month means water is actively moving through the masonry and has found a persistent path. Efflorescence is a symptom, not the problem. It points to whatever is letting water into the brick: a cracked crown, a failing mortar joint, or a flashing gap. Address the water, and the efflorescence stops. Brush it off and ignore the water, and it returns within weeks.
Mortar joint recession is the gradual erosion of the mortar between bricks. In older Arden-Arcade homes, the original mortar was often mixed with a higher lime content than is standard today, which makes it softer and more vulnerable to weathering. The visual sign is mortar joints that look scooped out or recessed, with crisp edges gone and a rounded, worn profile. When mortar recedes enough, water enters the joint, freezes, and widens the gap. The repair is repointing, also called tuckpointing, and the quality of the repointing matters. Done properly, with the right mortar mix and thorough joint preparation, repointed joints last decades. Done poorly, they fail in a few seasons and accelerate the original damage. This is a repair that looks simple and isn’t, which is why we recommend a chimney specialist over a general handyman for this specific job.
These three indicators, spalling, efflorescence, and mortar recession, tend to appear together because they share the same root cause: water intrusion into masonry that was built to a standard from a different era. Arden-Arcade’s ranch homes were not constructed with modern chimney caps, modern flashing details, or modern mortar chemistry. They were built well for their time, but their time is now reaching the age where these systems need professional attention. Catching these indicators early, and addressing the water source rather than the symptom, is the difference between a repair measured in hundreds of dollars and a chimney rebuild measured in thousands.
What a Professional Sweep Actually Covers
A professional chimney sweep is not just a brushing of the flue. The brushing is important, but the inspection that accompanies it is where the real value lies for Arden-Arcade homeowners. When we perform a sweep, we’re running through a specific sequence that systematically evaluates every component of the chimney system from the firebox to the cap. Here’s what that sequence actually looks like, so you know what to expect and what to ask for.
Flue inspection and creosote removal. The sweep removes creosote, soot, and any debris from the flue using brushes sized to the flue dimensions. But before and during the brushing, we’re looking at the flue liner. Clay tile liners crack. Stainless liners corrode at the seams. We’re looking for cracked tiles, gaps between tile sections, and any place where the liner has separated enough to expose masonry or framing to heat. For chimney repair, we work with DuraFlex liner systems and HeatShield resurfacing materials because they’re the same products certified chimney specialists use nationwide, and they’re built for the temperatures and conditions we see in this region.
Firebox and damper assessment. After the flue is swept, the firebox gets a close inspection. We’re checking firebrick condition, looking for cracks in the firebox shell, and evaluating the damper operation. A damper that doesn’t seat properly is flagged and can often be repaired or replaced the same visit.
Cap, crown, and flashing evaluation. The exterior components get their own inspection. We’re looking at the cap for rust or displacement, the crown for cracks, and the flashing for lift or sealant failure. Each finding is reported separately, not bundled into a vague “exterior needs work.”
Camera inspection where warranted. If we see anything that suggests liner damage, creosote buildup in inaccessible areas, or prior water damage, we run a camera up the flue. The camera shows what’s actually there, and we show you the footage. Nothing gets recommended without visual evidence you can see for yourself. If the liner is fine, you’ll see that it’s fine. If it’s not, you’ll see exactly what’s wrong, and we’ll explain what needs to happen and what can wait.
The dry-season angle matters too. Arden-Arcade homeowners who burn regularly should schedule a sweep before the burning season begins, not after a winter of heavy use. A September or October sweep clears the residue from last season and ensures the chimney is ready for the first fire. It also spreads the workload in a way that means shorter wait times for you. And while we’re on the property, the Dryer Vent Cleaning in Arden-Arcade service can be bundled under the same call. Two fire hazards, one visit.
Documentation: Building a Year-Over-Year Baseline
The most underrated tool in chimney maintenance is a camera. Photographing your chimney, firebox, and visible flue on a regular schedule creates a record that makes year-over-year change obvious. Without photos, you’re relying on memory, and memory is bad at detecting gradual deterioration. With photos, a new crack, a spreading patch of efflorescence, or a shifted cap becomes a side-by-side comparison rather than a vague impression.
Here’s the documentation routine we recommend for Arden-Arcade homeowners.
- Photograph the exterior from the ground. Once per season, take photos from all four sides of the house if the chimney is visible from multiple angles. Capture the full chimney face, the cap area, and the flashing line at the roofline. Use the same angles each time so the photos are directly comparable.
- Photograph the firebox and damper. Once before the first burn of the season and once at the end of burning season, take a photo of the firebox showing the brick faces, the grate area, and the damper position. Use a flashlight to illuminate the smoke shelf if possible.
- Photograph any finding that catches your eye. If you notice efflorescence, a spalling brick, or a mortar gap during your monthly check, photograph it immediately. Then photograph it again the following month from the same angle. Growth over thirty days is meaningful data.
- Keep the photos in one folder. Name them by date and angle. Chimney-north-2025-10, firebox-2025-10, and so on. When a professional asks what you’ve observed, you can show them the record instead of describing it from memory.
The documentation habit pays off in two ways. First, it helps you catch slow changes before they become expensive failures. Second, it gives the professional who comes out a baseline to work from. When we arrive at an Arden-Arcade home and the homeowner can show us last year’s photos, we can immediately see what’s changed, what hasn’t, and where to focus the inspection. That’s a faster diagnosis, a more accurate assessment, and often a smaller repair bill because the problem is still early-stage.
One more benefit: photographs document the condition of your chimney at a point in time. If a cap blows off in a storm, if a tree branch falls, or if a roofing contractor causes damage, you have a before-and-after record. That’s valuable for insurance purposes and for resolving disputes with other trades. It costs you five minutes per season and a folder on your phone. For the full-service chimney and venting overview, including our repair and relining capabilities, see the Chimney Sweep Arden-Arcade home page.
Common Mistakes to Avoid
- Bundling cap, crown, and flashing into a single check. Each one fails independently and needs its own line item on your checklist. A cap that looks fine does not mean the crown is fine, and a crown that looks fine does not mean the flashing is sealing.
- Ignoring efflorescence because it’s “just cosmetic.” Efflorescence is visible proof that water is moving through your masonry. It’s not damage itself, but it points directly at whatever is letting the water in. Brush it off and ignore the source, and it returns within weeks.
- Burning with heavy creosote buildup because “one more fire won’t hurt.” Creosote is fuel. A single hot fire in a flue with 1/4 inch of glossy creosote is how chimney fires start. When you can see shiny, tar-like buildup with a flashlight, the sweep happens before the next burn, not after.
- Repointing mortar with the wrong mix. Older Arden-Arcade chimneys used softer, high-lime mortar. Repointing with modern Portland-heavy mortar is harder than the surrounding brick and causes the brick itself to fail. This is a job for someone who knows masonry chemistry, not a weekend with a trowel.
- Sealing over a cracked crown without repairing the crack. Sealant over a crack is a temporary patch that traps water inside the crown and accelerates the freeze-thaw cycle. The crack gets repaired, then it gets sealed, in that order.
- Skipping the damper check because the fireplace “seems fine.” A damper that leaks when closed is costing you heated and cooled air every day of the year, and a damper that sticks when open is a draft problem waiting to happen on the first cold night.
- Climbing on the roof for a do-it-yourself inspection without the right equipment. Arden-Arcade ranch homes have shallow roof pitches that look walkable, but a chimney inspection means working near the roofline on a slope. Falls from even a single-story roof cause serious injury. If the inspection requires getting on the roof, it’s a job for someone with the right ladder, the right harness, and the right insurance.
When to Call a Professional
Some chimney findings are “watch it” items, and some are “call this week” items. Call a professional immediately if you see glossy, tar-like creosote buildup in the flue, if the cap is missing or displaced, if you can hear or smell animals in the chimney, or if you notice smoke backing into the house during a burn. Call a professional within the season if you see active spalling, expanding efflorescence, mortar joints that have opened up, or if the damper will not seat or will not stay open. And call any time you want an outside set of eyes on a finding you’re not sure about. A professional assessment is cheaper than a repair, and a repair caught early is cheaper than a rebuild. See our Chimney Sweep Troubleshooting: Common Problems and How to Fix Them for guidance. Chimney Sweep Arden-Arcade offers free estimates in Arden-Arcade. Call (833) 589-9906 to schedule a sweep, a camera inspection, or both.
Frequently Asked Questions
A standard chimney sweep in Arden-Arcade typically runs $150 to $300, with the price depending on flue size, creosote level, and whether a camera inspection is added. Repairs found during the sweep are quoted separately with photo evidence before any work proceeds. Call (833) 589-9906 for an exact quote, and estimates are free.
A wood-burning chimney should be swept at least once per year in Arden-Arcade, and more often if you burn more than two cords per season or if you burn soft woods that produce heavy creosote. The annual sweep should happen before the burning season starts, typically September or October, so the flue is clear for the first fire. A gas insert or gas log setup needs an annual inspection too, even though it produces less creosote, because venting and gas line issues are still a risk.
You should never be told you need a new liner without camera footage showing you exactly why. A cracked clay tile, a separated joint, or a rusted-through section are all visible on camera, and a reputable sweep will show you the footage and explain what it means. If someone quotes you a reline without showing you the interior of the flue, get a second opinion. On our side, we use DuraFlex liner systems and HeatShield resurfacing, and nothing gets recommended unless the camera shows a real problem. A finding during your sweep can usually be fixed the same visit, not scheduled out to a second contractor.
Creosote accumulates in the flue, and creosote is fuel. The most serious outcome is a chimney fire, which can crack the liner, damage the masonry, and in the worst cases spread to the house structure. Less dramatically, a clogged flue or a failing damper causes smoke to back into the living space, and smoke intrusion means carbon monoxide exposure risk. The annual sweep is cheap insurance against both. In our experience, the homeowners who skip the sweep are the ones who end up with the $3,000 to $8,000 reline jobs later. Call (833) 589-9906 and we’ll get you on the schedule before burning season.
You can buy a chimney brush at a hardware store, but the brush alone doesn’t give you the inspection that comes with a professional sweep, and the inspection is where actual problems get caught. A homeowner with a brush can remove loose soot, but they cannot see a cracked liner, cannot assess a crown, and cannot spot a failing flashing detail from inside the flue. More importantly, chimney work means working at height, and the fall risk on a single-story Arden-Arcade ranch home is real. This is one of those jobs where the professional service is the safer and more cost-effective option, because the professional is doing the inspection that catches the problem before it becomes expensive. For related advice, see our guide on Choosing the Right Chimney Cleaning Brand: A Buyer’s Guide for Arden-Arcade.
A standard sweep, including the inspection and a walkthrough of findings, takes about an hour. If a camera inspection is added, budget another thirty minutes. If repairs are needed and you approve them the same day, the visit runs longer, but most sweep-only appointments in Arden-Arcade are in and out inside ninety minutes. We bring all the materials we might need, so there’s no second appointment for a common repair like a damper replacement or a cap install.
The Bottom Line
Chimney maintenance in Arden-Arcade is a sequence, not a single annual task. Monthly visual checks from the ground catch exterior changes. Seasonal firebox and damper checks catch creosote buildup and damper failure before the first burn. The annual professional sweep clears the flue and catches what no homeowner can see: liner cracks, hidden creosote, and the early stages of water damage. Cap, crown, and flashing each get their own attention. Masonry indicators like spalling, efflorescence, and mortar recession get documented, not ignored. And every finding gets photographed so next year’s inspection is a comparison, not a guess. Skip any step in the sequence, and you’re betting that this is the year nothing fails. In Arden-Arcade’s fifty-to-seventy-year-old ranch homes, that’s a bet that eventually loses. The checklist keeps you ahead of the failure curve. Explore more guides & resources to stay informed, and the professionals keep the checklist honest.
Written by the team at Chimney Sweep Arden-Arcade, serving Arden-Arcade since 2017.
See the difference
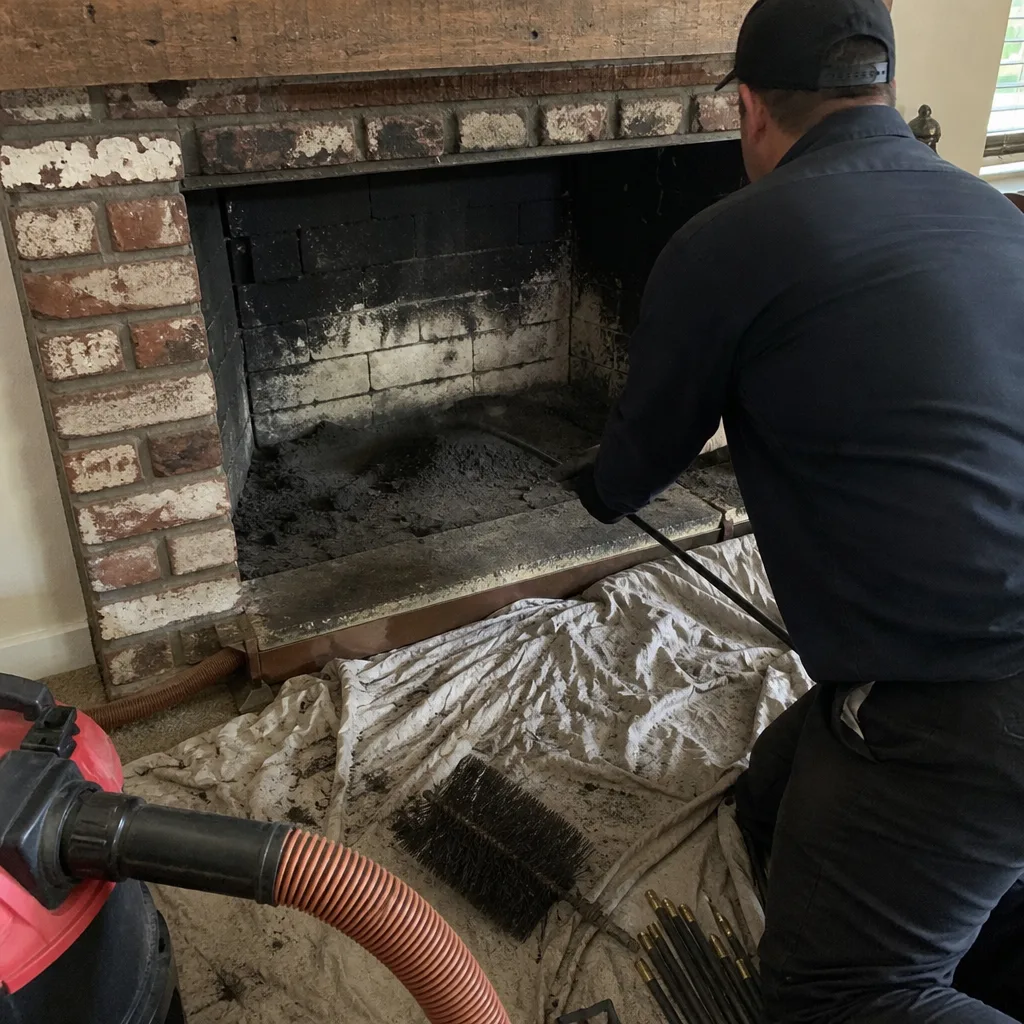 Before
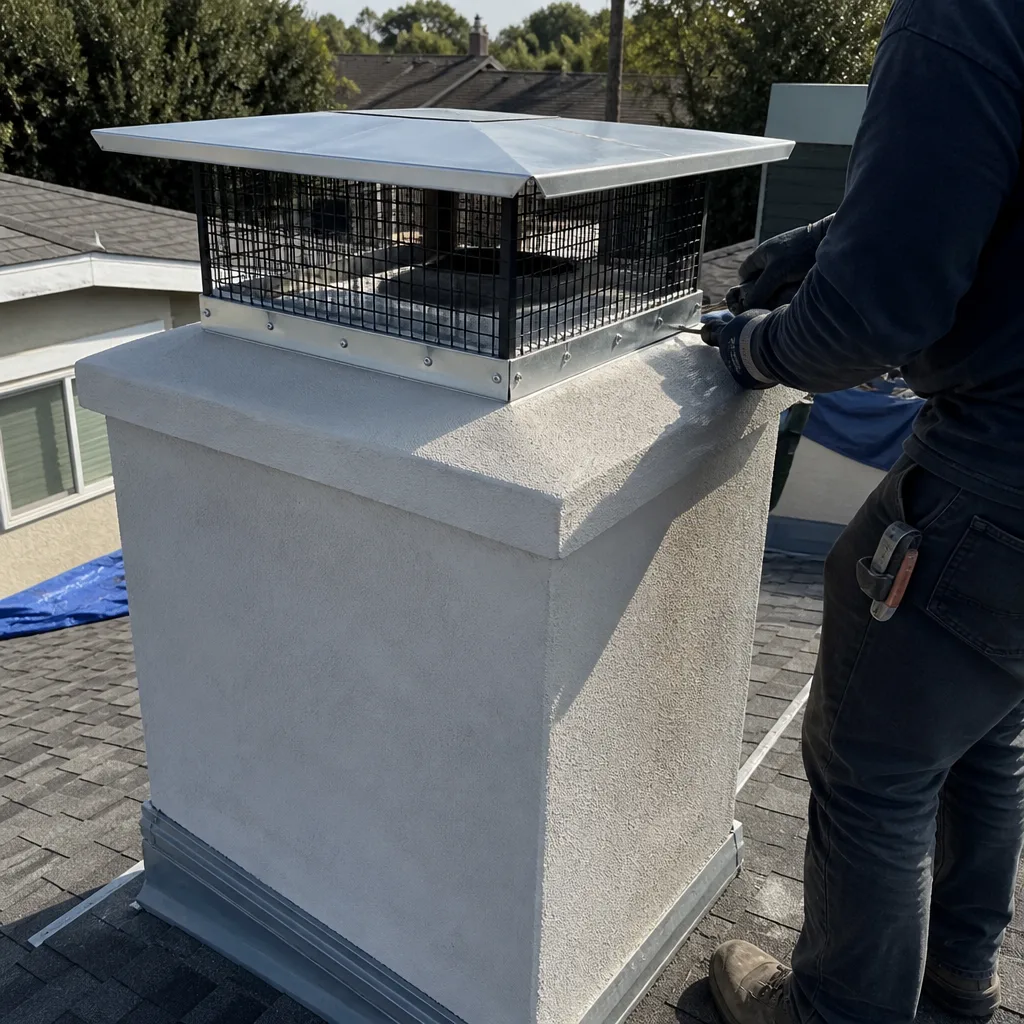 After
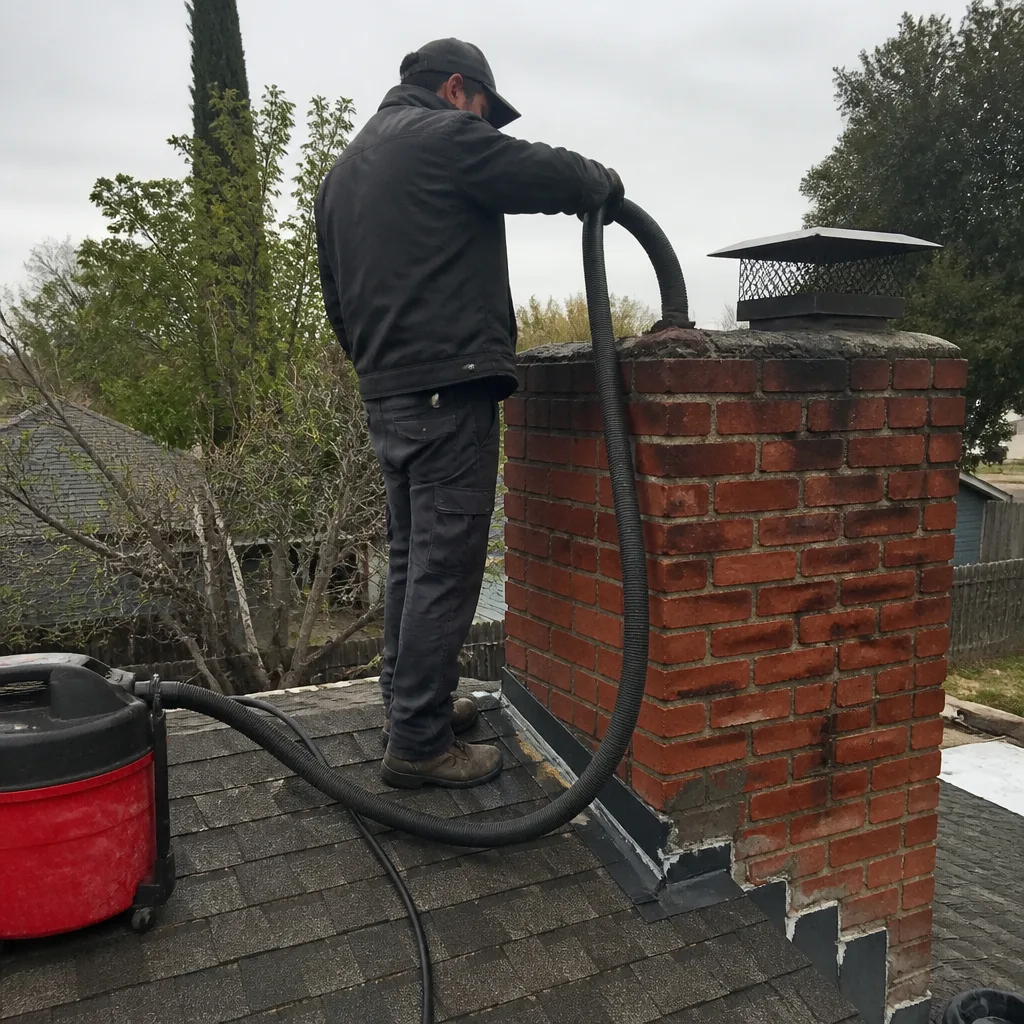 Before
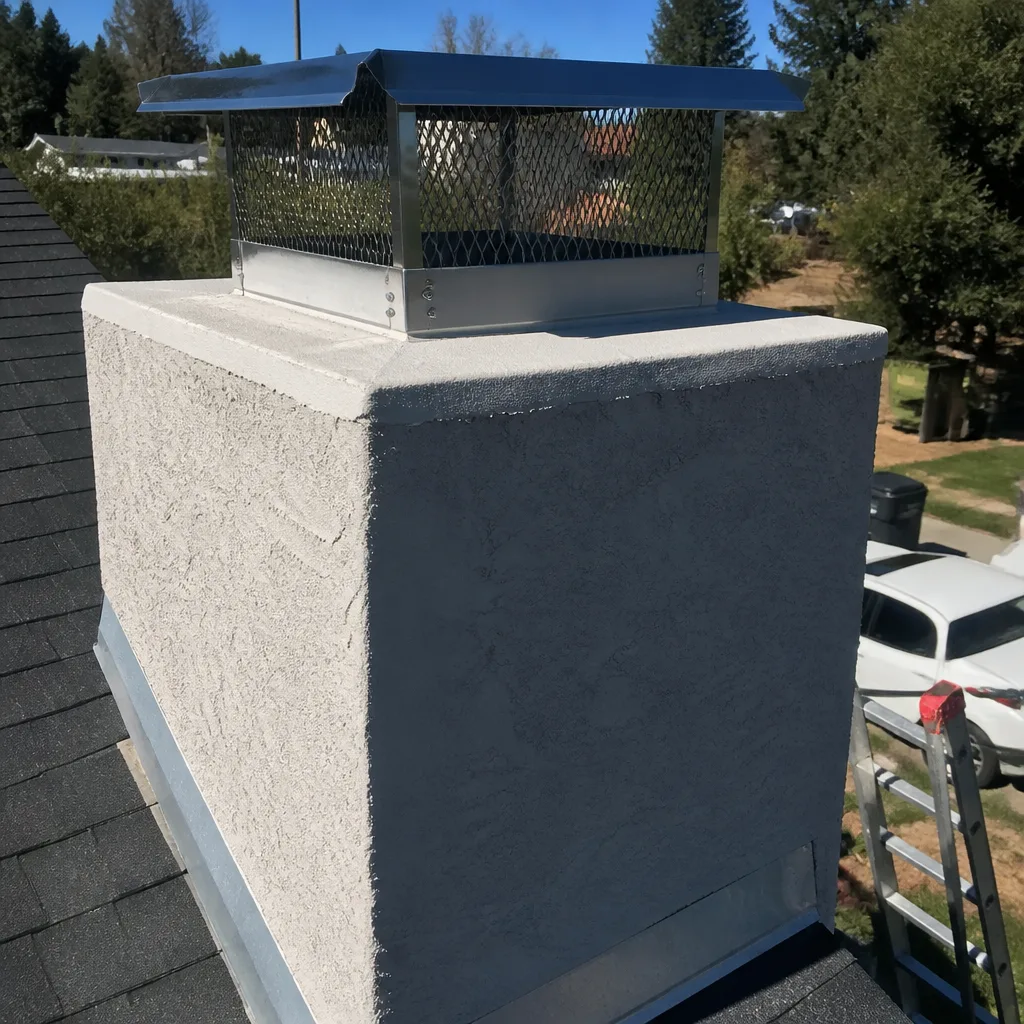 After
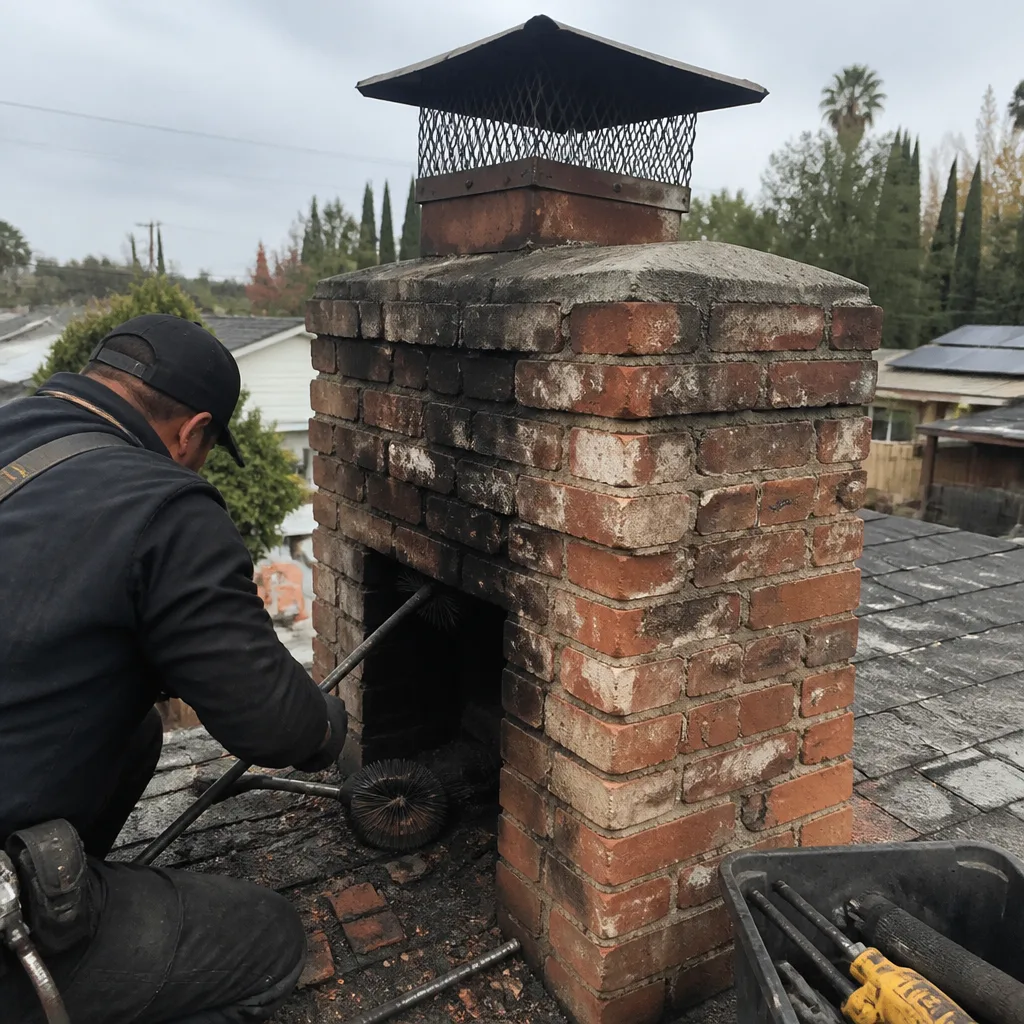 Before
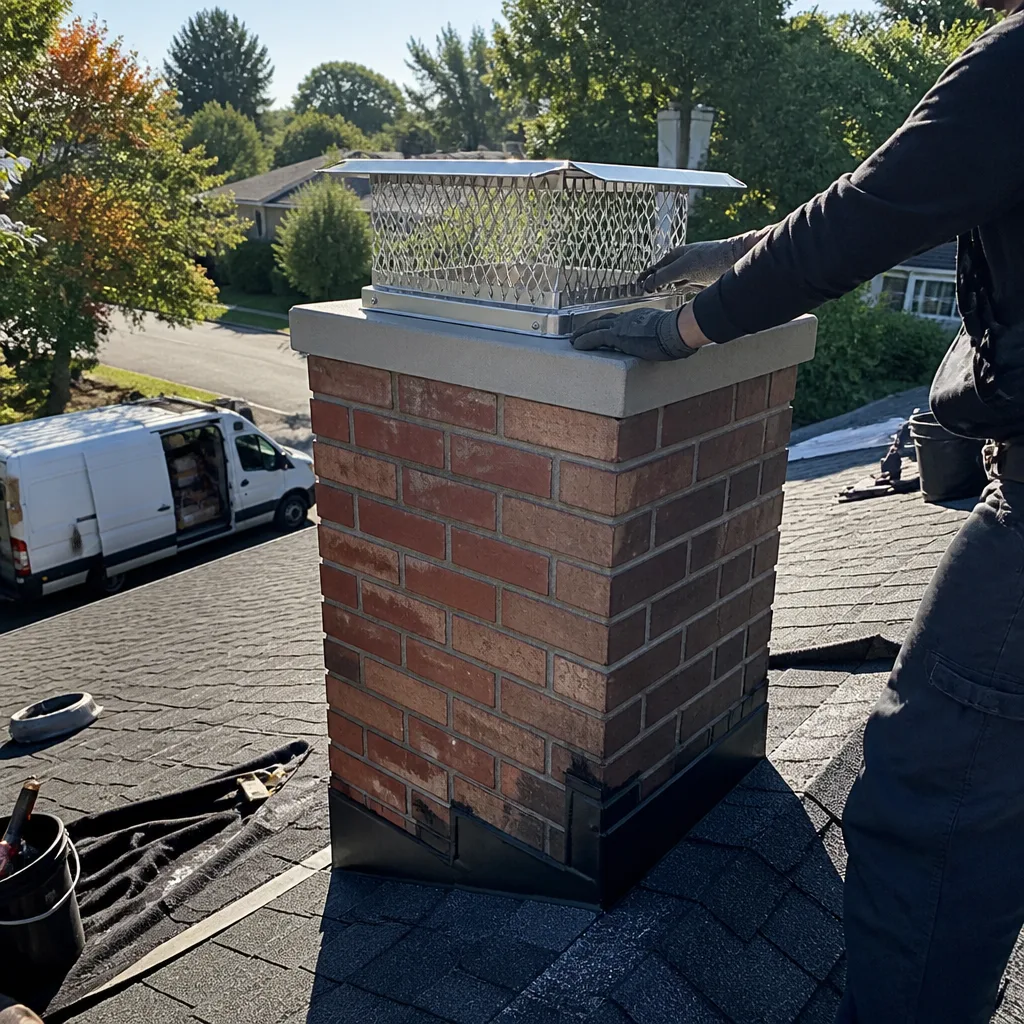 After